
There’s nothing better looking than a freshly painted vehicle. Unfortunately, after vehicles are purchased and hit the road, their appearance will eventually succumb to the wear and tear of weather, sand, gravel, and other paint-damaging debris. All of these elements can slowly cause a vehicle’s plastic parts to look worn. As a future refinishing prep technician, you can help make these parts look new again by painting them with a fresh coat.
Curious to learn more about painting plastic parts? Here are four tips to get your started.
Tip 1: Before Auto Painting, Isolate the Plastic Parts You’ll Be Working On
It’s important to make sure that other areas of a vehicle aren’t damaged or affected while you are painting plastic parts. There are two ways you can make sure that doesn’t happen after your car painting courses. The first and best option is to completely remove the part from the vehicle and paint it separately. However, with some vehicles this may not be an option. In that case it’s best to go with the second option and tape off and cover the surrounding area of the vehicle. This will create a safe barrier between the rest of the vehicle and the products you will be using to paint the plastic.
Tip 2: Prepare the Surface of the Plastic Correctly Before Auto Painting
Before painting plastic, or anything on a vehicle for that matter, you must take the proper steps to prepare the surface. The process of preparing plastic car parts for paint will vary depending on the part. Parts that have been previously painted will need to have the paint removed. And if the part is extremely scratched or dented, it may need filler to smooth out any imperfections.
Regardless of the condition of the part, every plastic surface you paint will need to be sanded. Sanding helps smooth the surface and remove tiny imperfections. In addition, sanding makes small crevasses in the surface of the plastic, which creates more surface area. The more surface area there is, the more places the paint can bond to the plastic. This helps the paint last long after your work is done. After the plastic is thoroughly sanded, it must be cleaned and rinsed to remove any remaining residue.

Tip 3: Use an Adhesive When Painting Plastic After Car Painting Courses
Most auto painting professionals will agree that when painting plastic car parts, the key to creating a job that lasts is using a plastic adhesion promoter. Plastic adhesion promoters contain chemicals (which will vary by the brand) that are strong enough to open the plastic’s pores. This makes it easier for new coats to adhere to the surface. However, it’s important to note that adhesion promoters should only be used on bare, clean, and raw plastic. It will be ineffective and could even damage the vehicle if it’s applied on top of primer or any other treatment.
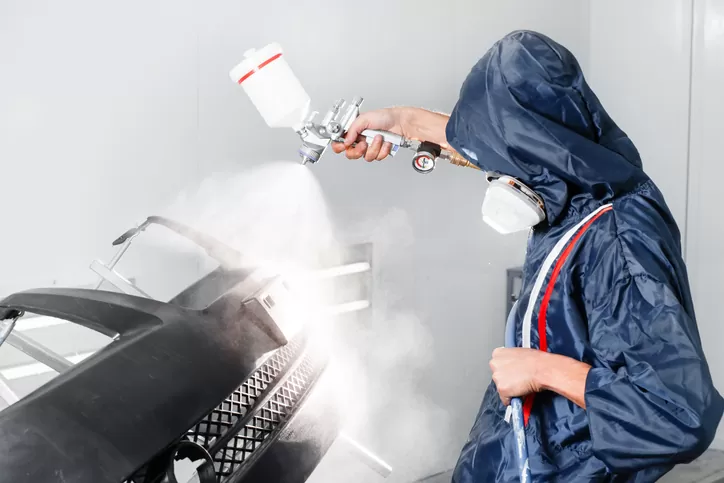
Tip 4: Make Sure to Paint Car Parts in a Clean Workspace
The last tip for painting plastic car parts is to make sure that you’re set up in a good area. You will want to avoid any rooms where there may be a lot of dust, particles, or dirt flying around, because the contaminants could stick to a layer of primer or paint and create imperfections in the finish. You will also want to choose a room that is dry and warm. Too much humidity could affect the way the paint dries, causing it to lose its ability to properly attach to the plastic. In addition, a warm workspace will also help the paint dry at a good and steady pace.
Are you interested in becoming an auto refinishing prep technician?
Contact Automotive Training Centres today to learn more!
