Interested in Auto Detailing Training? 3 Things You Should Know About Repairing a Leather Interior

Leather seats are a defining mark of many high-end cars, so when vehicle owners see that their beloved leather is starting to crack and fade, they begin to panic. After all, when a leather interior begins to look worn, it makes the entire vehicle a lot less enjoyable to drive.
Fortunately, auto detailers can help. If you pursue a career in auto detailing, you’ll be able to restore leather interiors to showroom condition using the skills learned during training. Here are a few things to keep in mind when restoring damaged leather interiors.
1. Professionals with Auto Detailing Training Know to Clean the Leather First
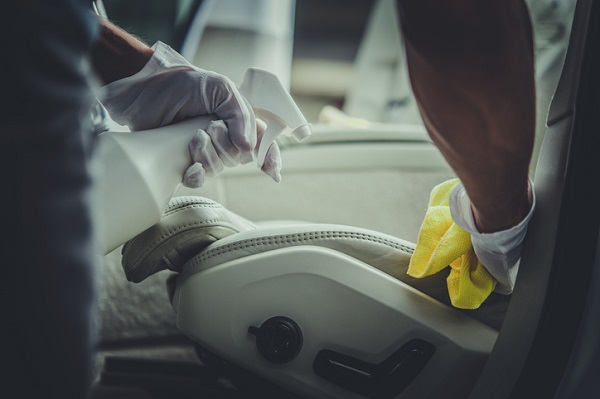
The first thing you need to do when repairing leather is to clean the seats. Cleaning seats is usually easier if you remove them entirely from the vehicle. You can find out how to remove them by consulting the owner’s manual. You can then vacuum the seats using a low power handheld unit to get rid of dirt. Using a microfiber towel, apply leather cleaning product by rubbing it in with a circular motion.

If there is a spot of leather that is particularly dirty, apply the cleaning product with a soft brush. Make sure you only use products that are safe on leather. As anybody who has taken auto detailing training will know, products that are water-based, heptane-based, or hydrocarbon-based will damage leather. Afterwards, wipe down the seats with isopropyl alcohol to remove the leather cleaning product and then allow the seats to dry.
2. Leather Binders and Fillers Can Be Used to Repair Worn and Cracked Leather
After the leather has been cleaned, it’s important to strengthen it using a binder. Applying leather binder isn’t difficult—you just wipe it into the leather and let it dry—but it is time consuming. You’ll need to apply up to 10 coats of leather binder and let each coat dry before applying the next. After the binder is dry, apply leather filler to any cracks in the leather. You’ll want to use a knife to apply the filler since precision is key here (the filler should only go into the cracks and not be spread over the surface of the leather). Once the filler dries, you’ll notice it leaves behind a bumpy surface. Use a very fine sandpaper to smooth down these bumps.
3. Auto Detailers Use Leather Colourants to Make Interior Leather Look Like New
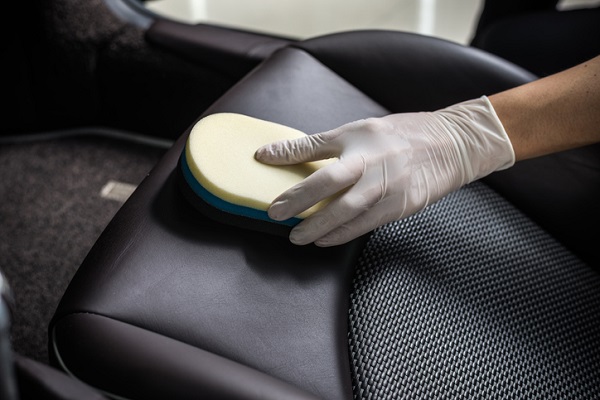
Cleaning the leather removes the manufacturer’s finish, so the final step will be restoring that colour and finish. Detailing careers in the auto industry often depend on ensuring that vehicles look brand new and in terms of leather that showroom-quality look is achieved with a leather colourant. You’ll need to apply multiple coats of colourant. The first coat should be applied with a sponge and each coat afterwards should be applied with an airbrush. Let each coat dry before adding the next. Once you’ve added enough coats that the repairs are covered, apply two coats of sealant followed by two coats of leather. Once dry, that leather interior should be looking brand new.

Are you interested in an auto detailing career?
Contact Automotive Training Centres to learn about our auto detailing course in Toronto.

