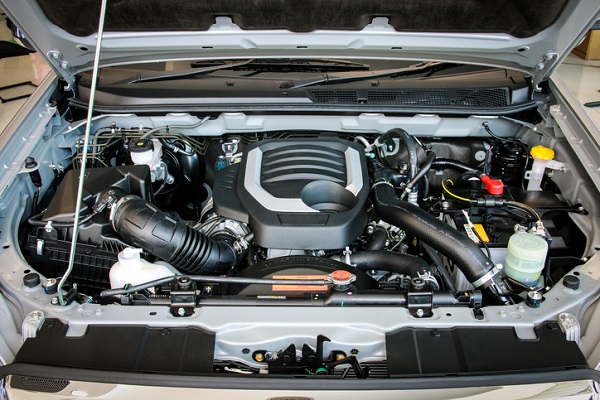
Internal combustion and engine vibration are why engine mounts, also called motor mounts, are so important for keeping rattling and twisting engines in their place. They also isolate the rest of the vehicle from the engine vibration and absorb it, preventing drivers from feeling any of the shaking. Inevitably, the rubber insulator in between the two metal parts can crack or become spongy and just fall apart, leading to a breaking of the mounts.
Knowing how to assess the damage of engine mounts and repair them both safely and efficiently requires focus and good training. Below is a guide on what is important to look out for when performing repairs on engine mounts.
Assessing the Wear and Tear of Engine Mounts
Liquids like oil, power steering fluid, and transmission fluid can do a number on engine mounts. To properly assess damage to an engine mount, start by checking how the engine is mounted. Engines that are mounted longitudinally will have two front mountings that are easy to spot, and another two at the gear box. For new students in an auto mechanic course, transverse engines can be a little trickier, having three or four mountings, some of which need to be checked from under the car.
When assessing engine mounts for damage on a longitudinally mounted motor, run the engine and pull the throttle linkage of the carburettor. Once the engine speeds up, an auto technician should watch the mountings for any cracks or unbounded areas that open up. That’s a sign you need to change the engine mountings.
For a transverse engine, raise the forward wheels of the car with ramps, and keep the handbrake applied. Auto technicians should also work in pairs for this kind of maintenance, so that one can actuate the throttle while the other can check for faulty mountings.
How Grads With Auto Technician Training Can Repair Engine Mounts Safely
Auto technicians should only replace the two front mountings on longitudinally mounted engines, while replacing all of them on transverse ones. In both instances, checking for any clearance against the firewall before raising the engine is a good way to avoid tearing radiator hoses or AC lines.
When jacking an engine, auto technicians should never secure them directly by the oil pan, as the sump can bend and rupture. Instead, they should place a block of wood 150 mm square and 25 mm thick between the jack and the engine to protect the sump. When working under a car for transverse engines, make sure to protect yourself by ensuring both the motor and wheels are properly supported. After that, disconnecting and replacing the mountings should be simple.
A Job for Trained Automotive Technicians
An engine mount replacement can sometimes cost more than $1,000 on some vehicles, and up to $1,800 on others. This expensive repair cost might have some clients ready to “do it themselves”.

While some replacement engine mounts and bolts can go for $50 to $200 in certain stores, raising an engine without the proper training can be disastrous. Grads with auto technician training should urge clients away from pursuing repairs of this kind on their own, as they could threaten lives or further damage their engine and car.
Do you want to start a career as an automotive service technician?
Come join the ATC automotive school in Cambridge!

