Interested in an Auto Detailing Career? 4 Secrets to Cleaning and Restoring Chrome
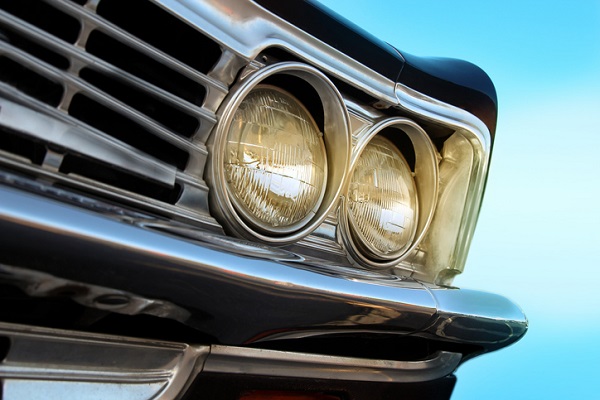
There’s nothing quite like the shine of a freshly cleaned chrome bumper or sparkling chrome wheels. It’s one of the reasons why chrome is found on quite a few cars, and why you might come across more than a few chrome components during your career. However, while chrome might look fantastic when it’s freshly cleaned and polished, it doesn’t take all that much for it to start oxidizing and looking dull.
Throughout your detailing career, you can help chrome parts shine like new again. Here are some helpful tips and tricks you can use when cleaning them.
1. It’s a Good Idea to Be Gentle When Working on Chrome
Because chrome is such a soft metal, it’s often best to use gentle products on it. This is because harsh products or anything too abrasive could potentially damage or scratch the chrome, which is the opposite of what you want to do.
In addition, some parts that look like chrome might in fact be plastic chrome. These components could react badly to products intended for metal, which is why it’s always best to approach with caution.
2. When Washing Chrome, Dry the Area with Compressed Air
The first step to cleaning up any chrome parts is to thoroughly wash them down. This helps to remove and stubborn dirt and grime left on the vehicle. However, there are a few important things to keep in mind when washing chrome. To start with, it’s a good idea to use a mild cleaner and avoid getting any of the product on plastic or other components. This is because products designed for chrome could potentially damage other components—especially if they’re plastic.
In addition, it’s also very important for students in auto detailing training to dry the area completely once it has been washed and rinsed. Any leftover moisture could leave water marks or even potentially lead to rust down the line, so it’s essential that the area be completely dry. By using compressed air to dry chrome parts, you can help speed up the detailing process, and help ensure that no nooks and crannies have been overlooked.
3. Polish Chrome by Working on one Small Area at a Time
When polishing chrome, it’s a great idea to work on one small area at a time. Polish needs to be worked in, which can take some time and effort. Students in an auto detailing course might know that it’s always a good idea to test out a product on a small area before applying it to the rest of the car. This is a great practice to follow no matter what you are detailing.
Testing a product allows you to be sure that you’re using the right product for the job. Start off by using a mild polish, and then move up to a more intensive product if you can see that the job really needs it.

4. Colour Code the Microfibre Towels You Use for Chrome
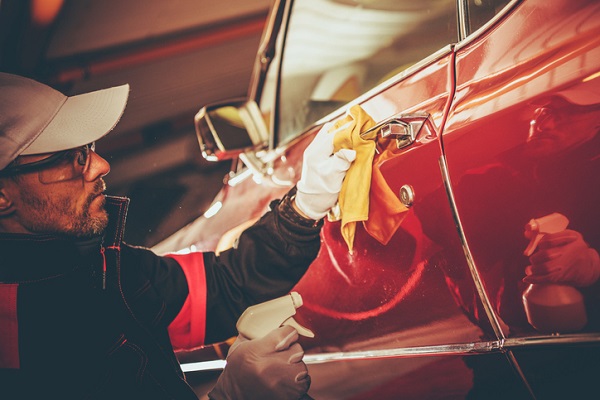
Once you’ve applied the polish and worked it into an area, you’ll need to wipe it down with a clean microfiber cloth to remove any excess product. Microfibre cloths are excellent for auto detailing work because they’re very gentle and absorbent. In fact, you can use microfiber cloths to clean paint, plastic, and even leather interiors.
However, you don’t want to use the same cloth to work on each of these different areas. Instead, you want to make sure that cloths used on leather are always used for cleaning leather, and that cloths used for cleaning chrome are always used on chrome parts. One easy way to do this is to colour code microfiber towels. You can make sure that your shop only uses orange towels on metal, and green towels on plastic, for example.
Would you like to train for an auto detailing career?
Discover how Automotive Training Centres can help you prepare for this rewarding career path!


