Mold can grow in many environments, and sadly for some, that includes the inside of vehicles. Under the right conditions, mold can flourish. When trash is left in a vehicle, a moisture leak occurs, or a vehicle is stored in a humid climate, it’s not uncommon for mold to begin to grow.
Not only does mold smell terrible, but it damages the surfaces it occupies, and can even be hazardous to human health. If a driver suspects they have a mold infestation within their vehicle, it’s important that they seek the services of a professional automotive detailer right away to remove the substance and prevent its spread.
If you’re interested in a career in automotive detailing, here’s what you need to know about removing mold from a vehicle’s interior to restore a safe and clean driving environment.
Those in Auto Detailing Can Start by Gathering the Tools They’ll Need for a Mold Removal
Mold removal can be an intensive process, but with the right equipment and safety gear, auto detailing professionals can ensure the task is performed successfully. To remove mold, you’ll need a high-powered vacuum, a spray bottle, white distilled vinegar, disposable rags or towels, a scrubbing brush, and an interior cleaner designed for vehicles. Your workspace should be well-ventilated or preferably outdoors to prevent the spread of mold spores and reduce your exposure to the chemicals used during the process.

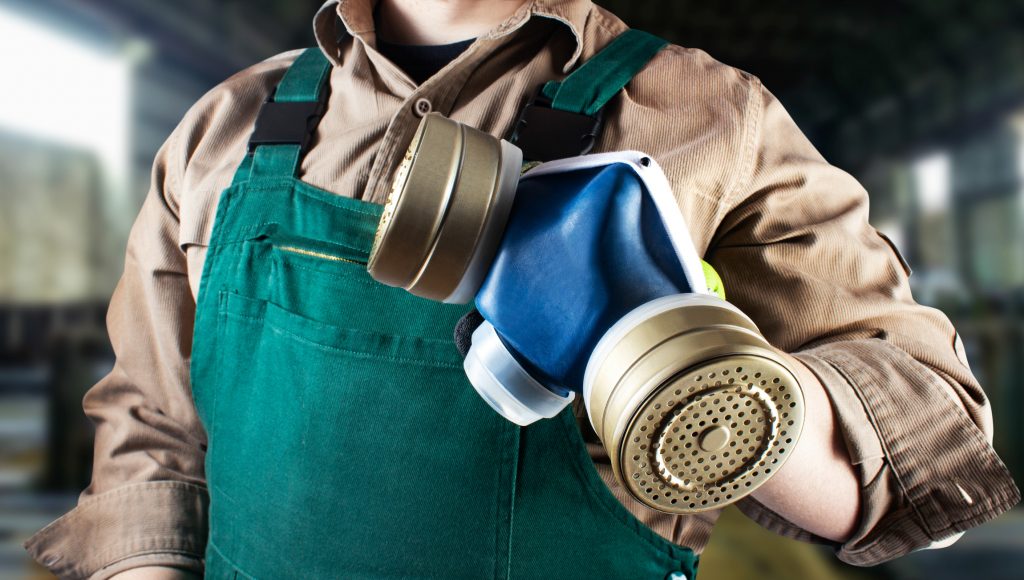
When removing mold, another important consideration is your safety. Breathing in mold spores can be toxic, so when dealing with mold at such close proximity, it’s important to wear proper protective gear. Wear long sleeves, boots, goggles, a particle mask, and gloves. Ideally, try to wear disposable gear in order to prevent cross-contamination, but if this isn’t possible, be sure to wash your clothing thoroughly after the mold removal process.
Prepare the Vehicle for Mold Removal
Once the necessary materials have been gathered, you can start by prepping the vehicle for mold removal. Remove all belongings and trash from the inside of the vehicle, and determine whether any items show signs of mold growth. If growth is detected, it’s easiest to throw them away. Next, inspect the vehicle for possible sources of mold growth. The culprit could be a damaged seal or a leak, creating moisture that attracts mold.

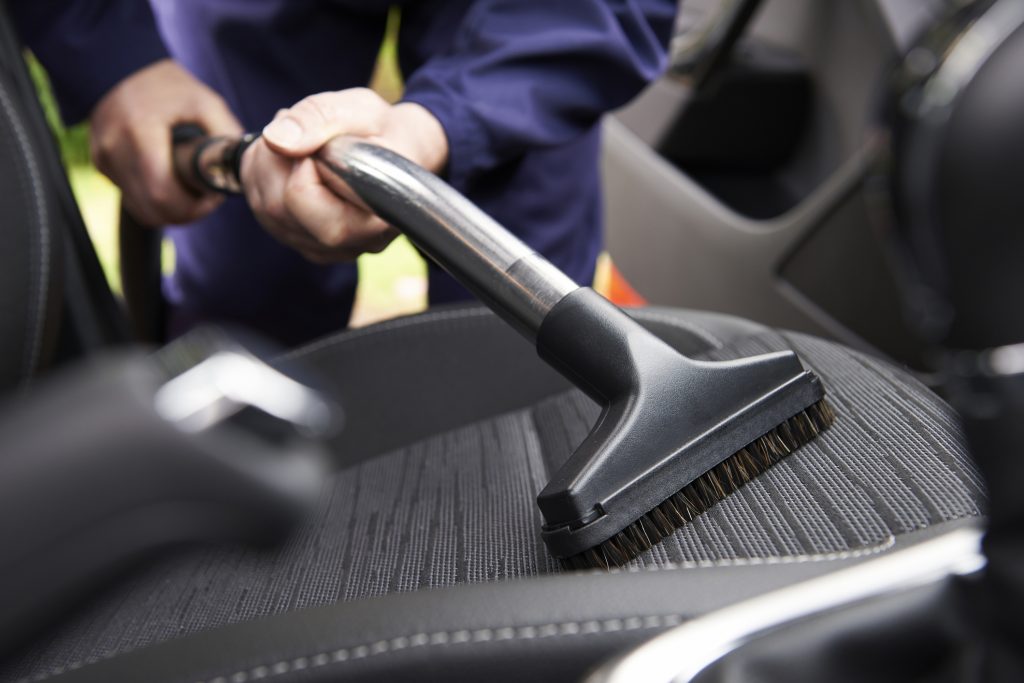
After determining (or attempting to find) the source of the mold growth, it’s time to move on to vacuuming. Vacuuming will eradicate loose particles of mold, as well as remove any dirt that might be mistaken for mold. Vacuum the vehicle’s upholstery, carpets, and soft finishes, ensuring that all visible dirt is removed before continuing with the job.
Removing Mold from a Vehicle’s Interior
If you’re in an auto detailing career, you may be surprised to know that there are just a few ingredients required to remove mold effectively. Fill a spray bottle with a solution of two parts water and eight parts distilled white vinegar, and spray the solution onto all surface areas containing mold. White vinegar is an acid which can effectively kill mold spores by burning them, so don’t be shy! Make sure the contaminated surface is fully saturated. Next, use your scrubbing brush to rub the vinegar into the upholstery. Allow the vinegar to fully soak into the affected areas and dry before inspecting for mold once more. If necessary, this process can be repeated several times.
When all traces of mold have been removed from a vehicle’s interior, you can use an approved interior vehicle cleaning solution to cleanse the upholstery and remove the smell of the vinegar. After the mold removal process is complete, leave the doors of the vehicle open to allow fresh air to circulate within the cabin. If it’s a sunny day, it’s best to place the vehicle in the sunlight to air out, as UV rays can prevent mold spores from regenerating.
Considering a career in professional automotive detailing?
ATC Surrey has the program to fit your needs. Get started today!


